3D Printed Desktop Speakers
-
 Chris J
 - 08 Apr, 2025
I’ve always been fascinated by the intersection of audio quality and design aesthetics. When I discovered Print Your Speakers, a website offering plans for 3D printed speakers that promised both excellent sound and attractive design, I knew I had to try building a set for my desk.
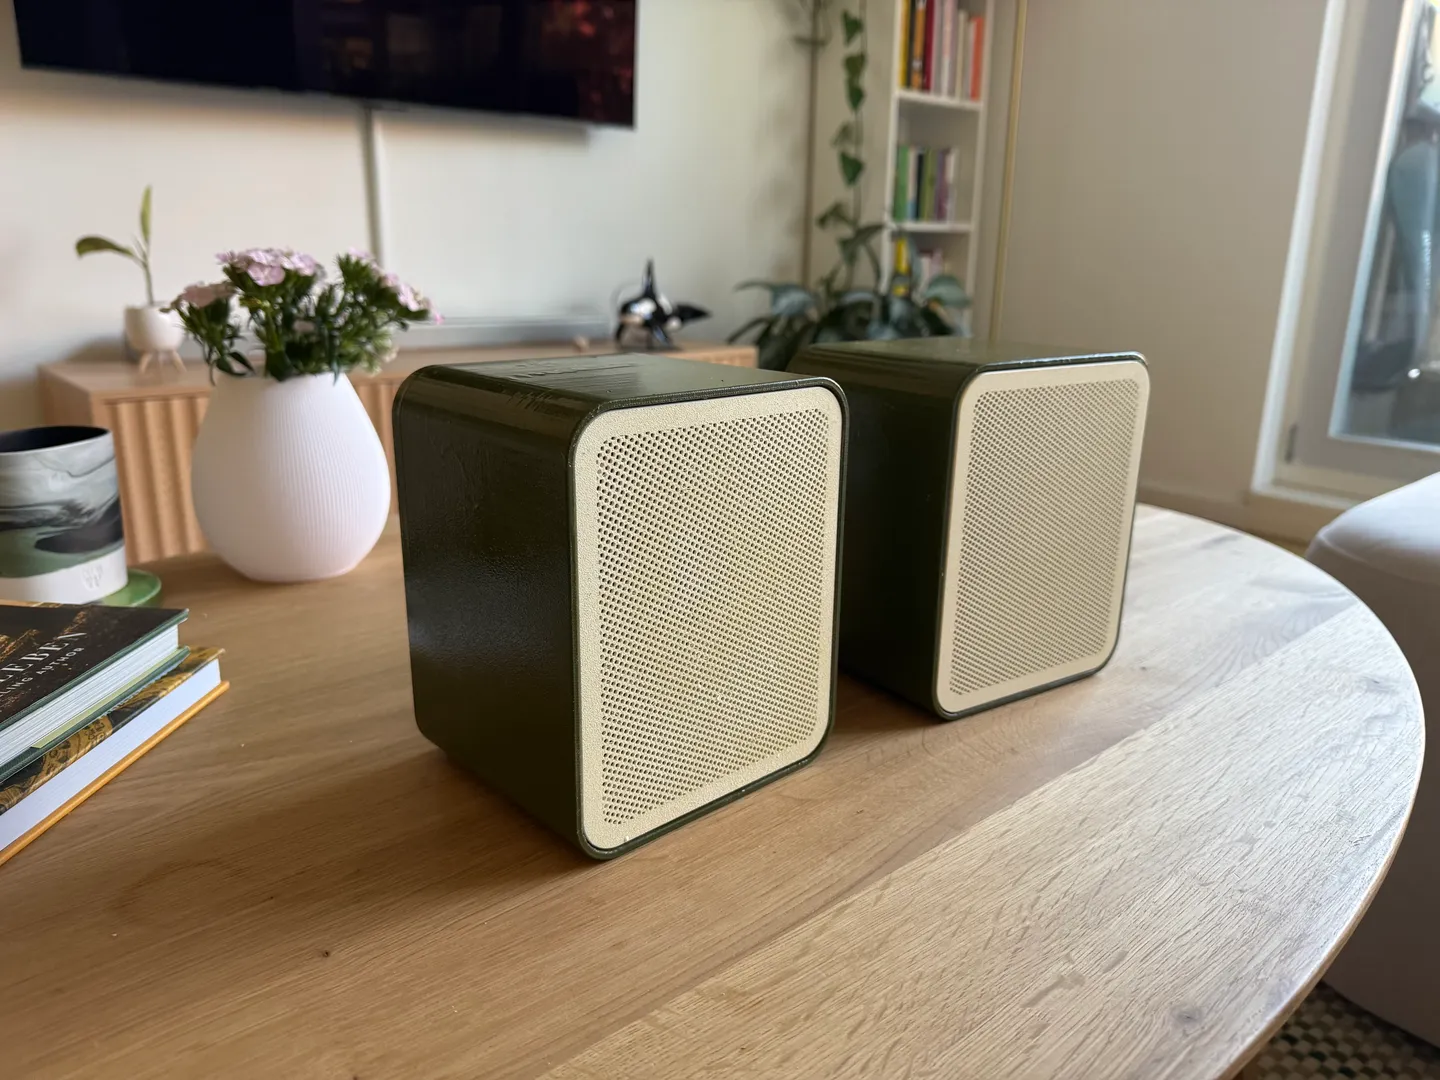
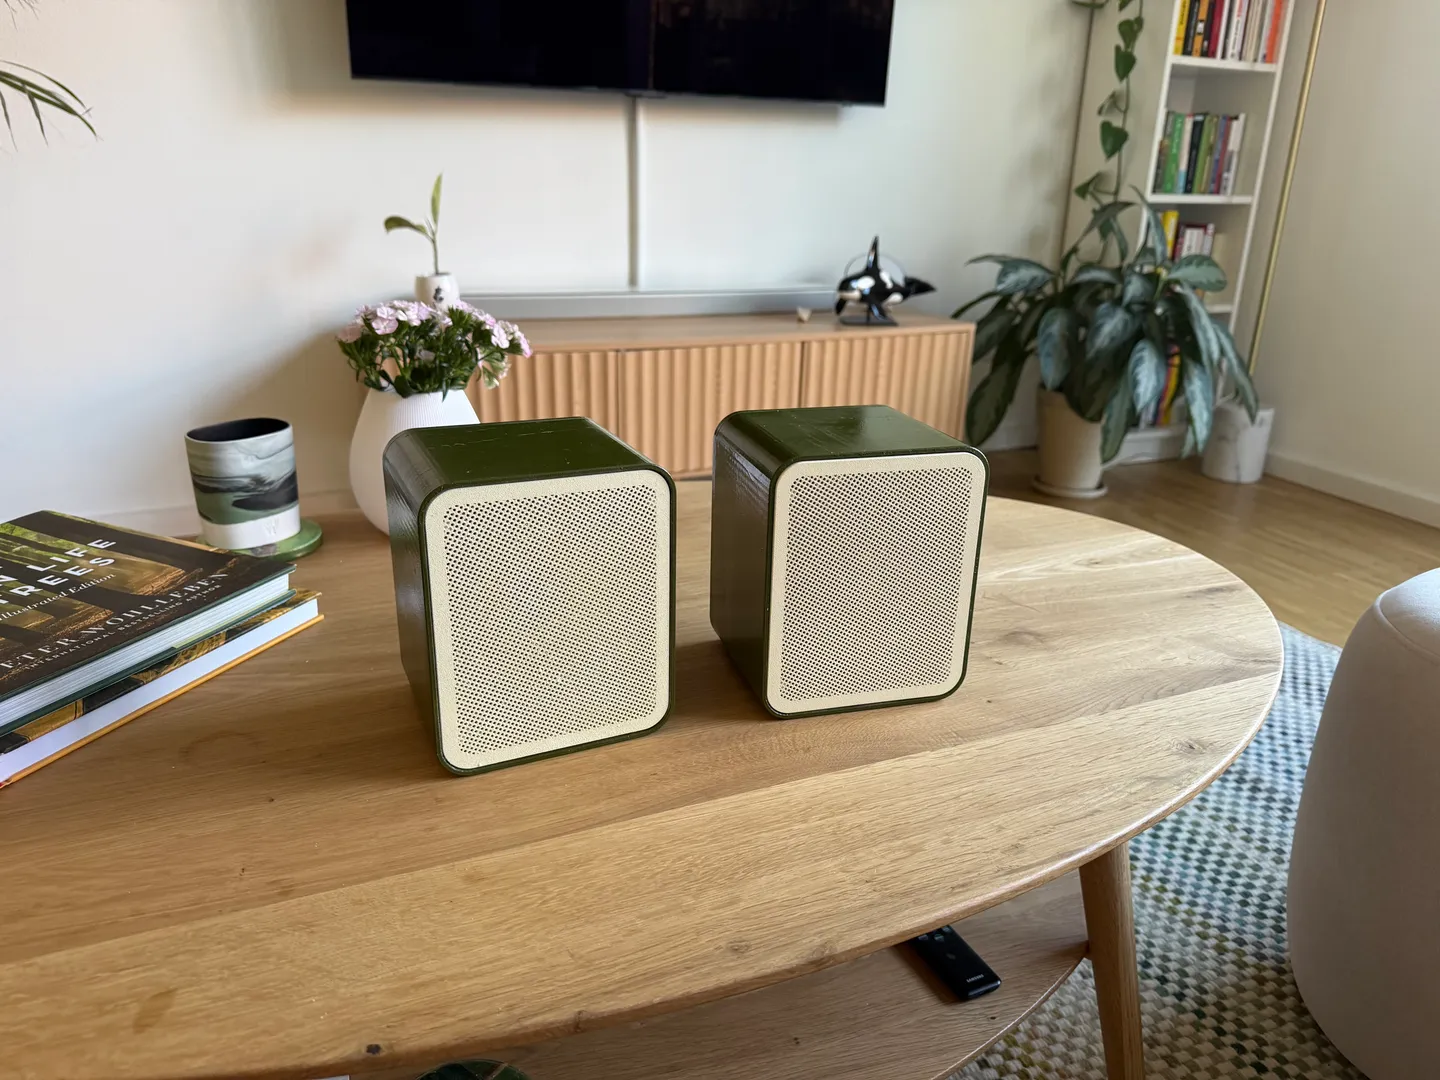
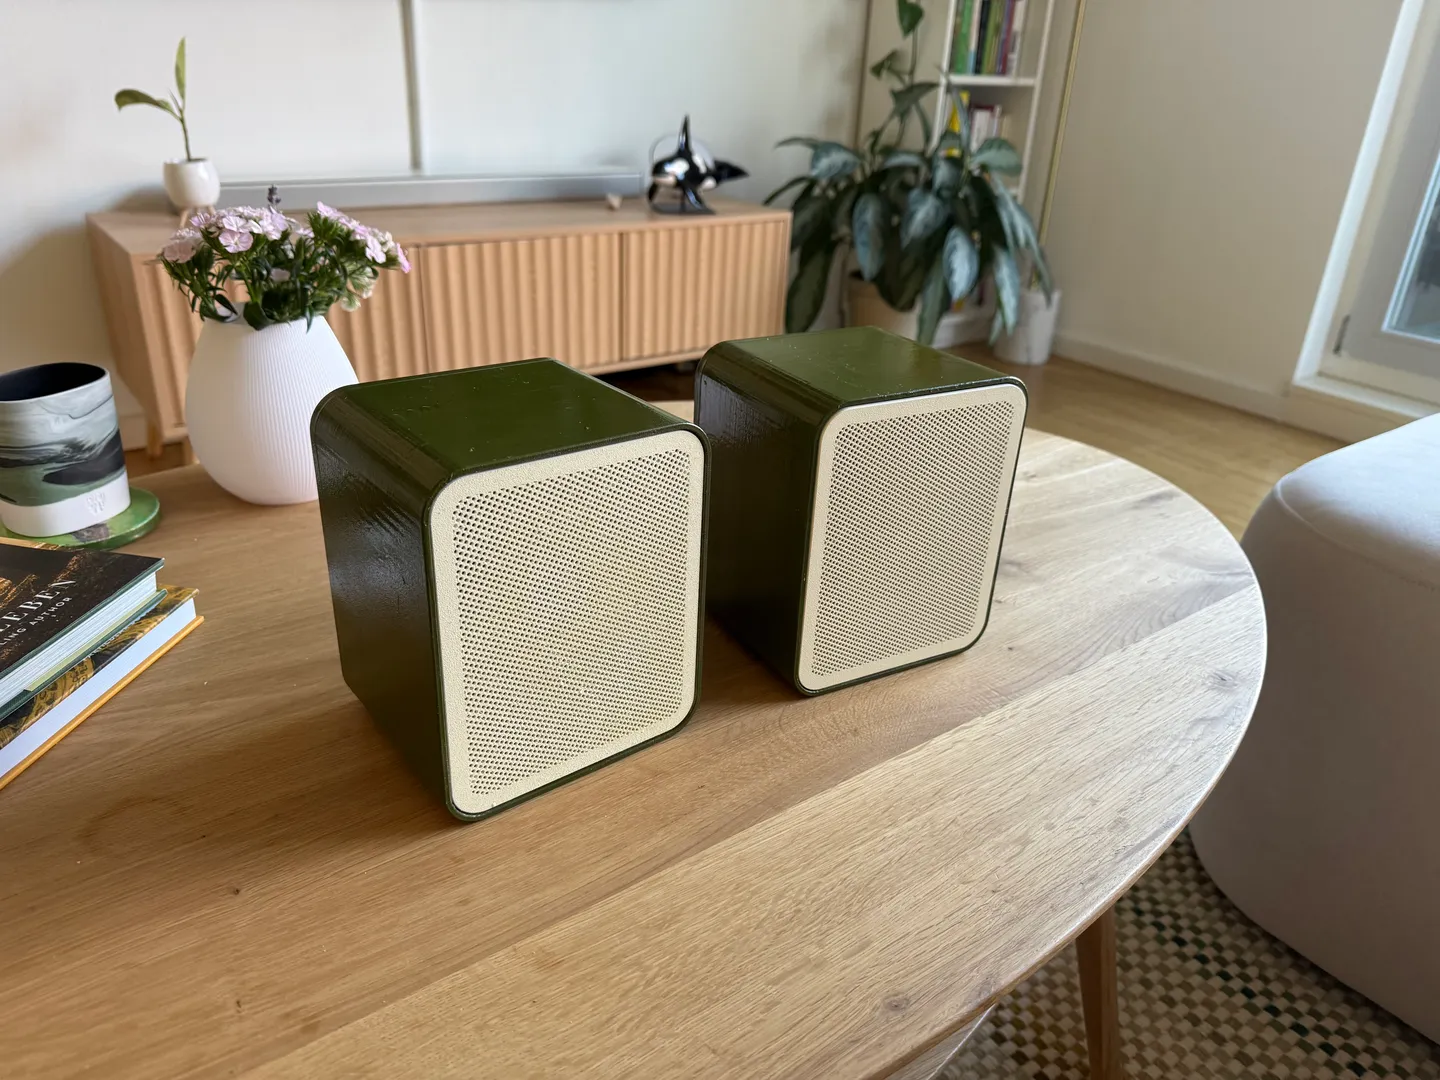
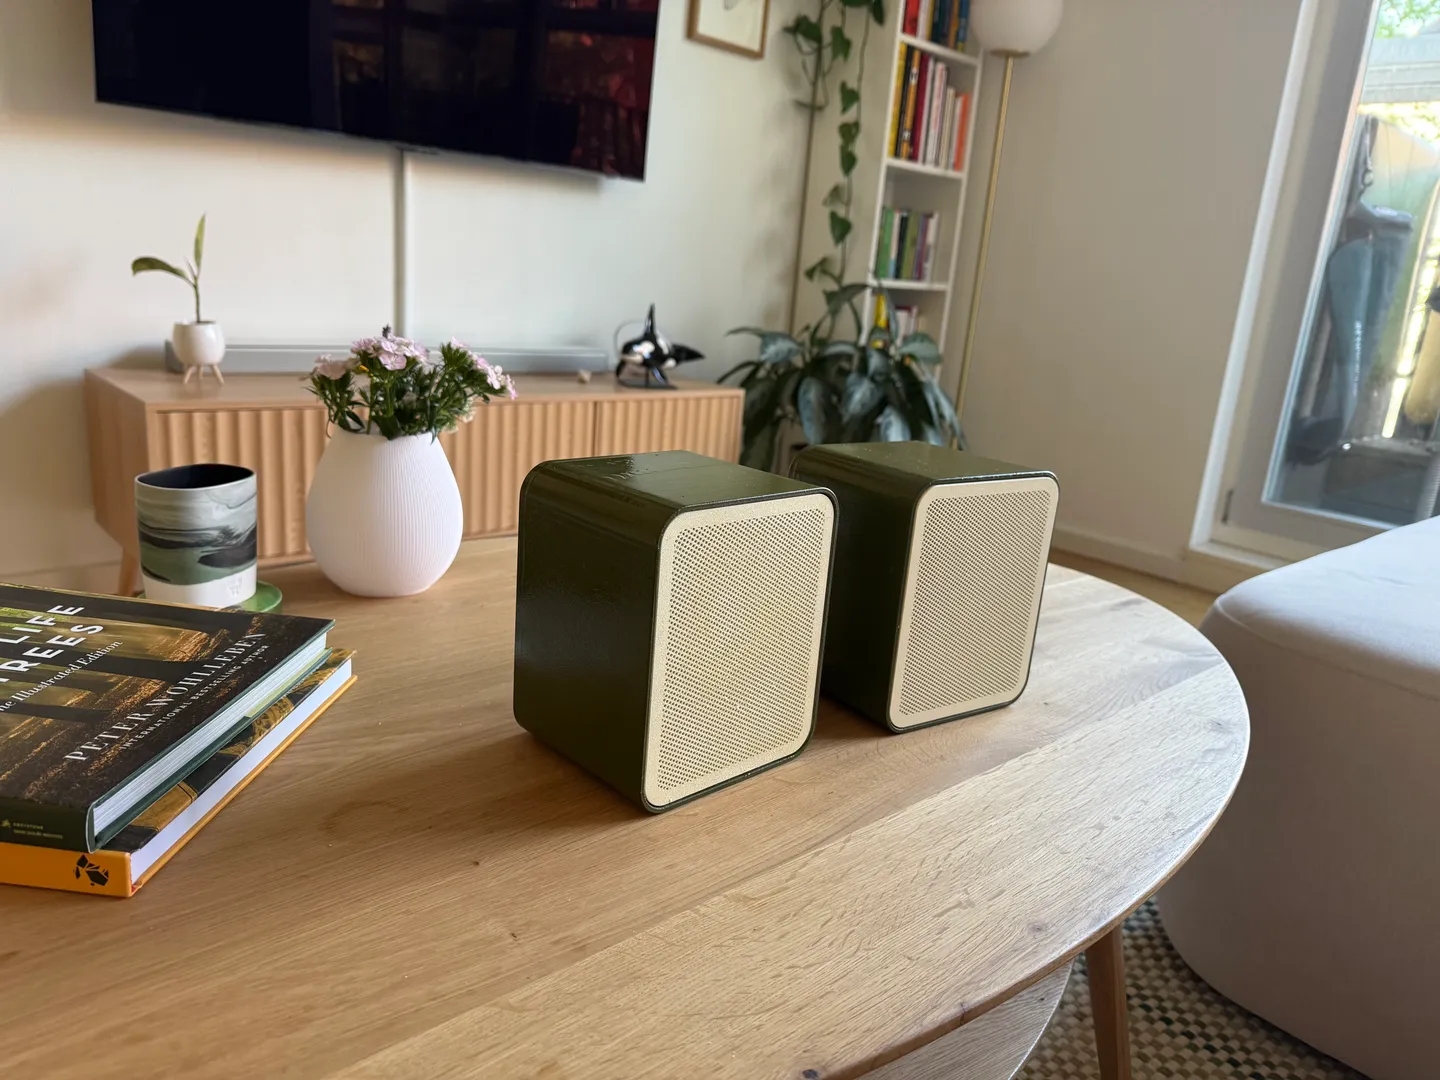
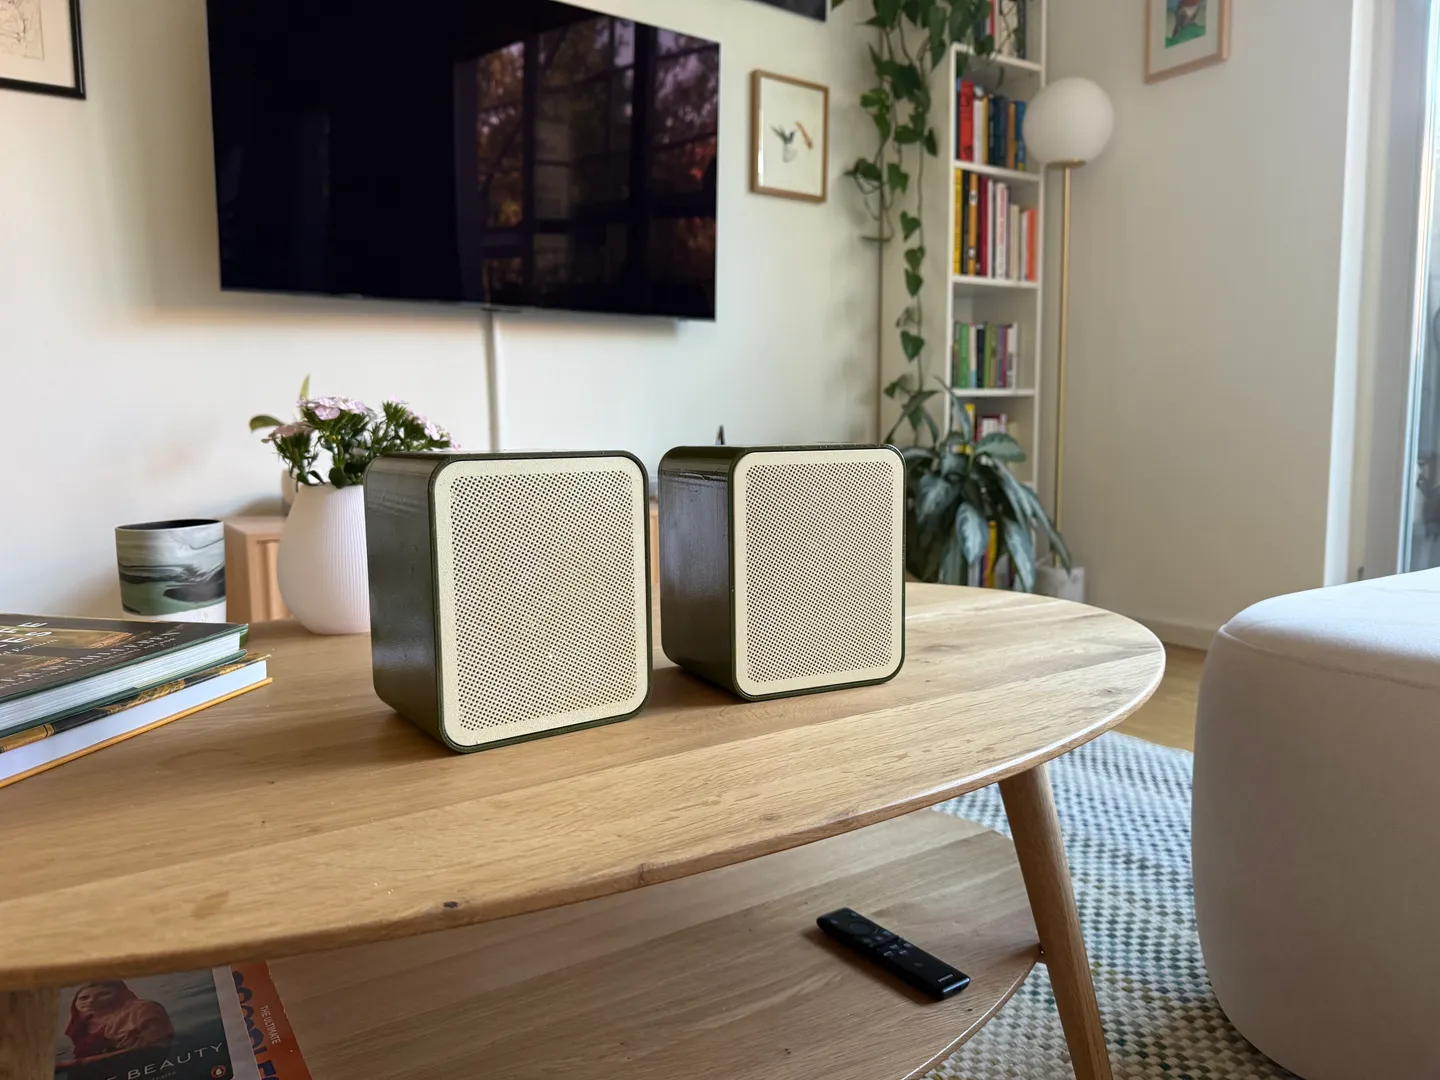 The finished desktop speakers in their natural habitat
Why 3D Printed Speakers?
Traditional speaker building typically involves woodworking skills, specialized tools, and extensive knowledge of acoustic design. 3D printing changes this paradigm by:
- Eliminating the need for complex woodworking
- Allowing for intricate internal geometries that would be difficult to create otherwise
- Providing endless customization options through different filaments and finishes
- Making high-quality audio accessible to makers with limited tools
 The Supersonic Mk2 design from Print Your Speakers that I selected
Choosing a Design
After exploring the options at Print Your Speakers, I settled on the Supersonic Mk2 model. This compact desktop speaker design offers:
- A small footprint perfect for desk use
- Full-range sound despite the compact size
- Reasonable print times and material requirements
- A modern aesthetic that fits my workspace
Components and Materials
The Speaker Components
- Dayton Audio ND65-8 2-1/2” drivers
- Passive radiators
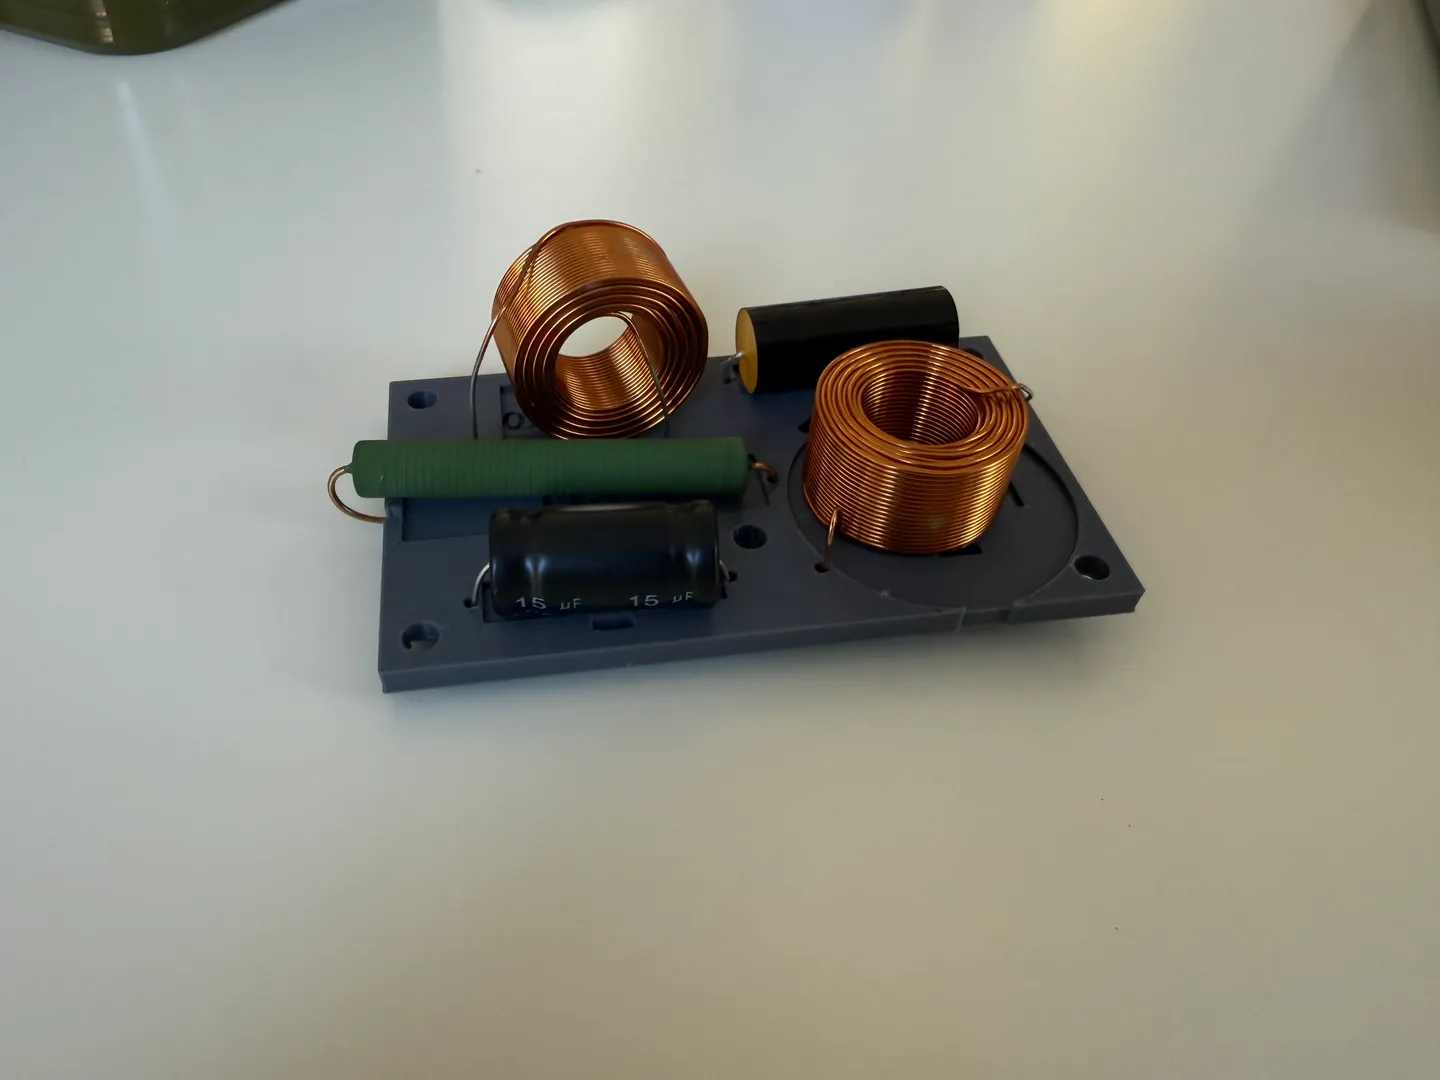
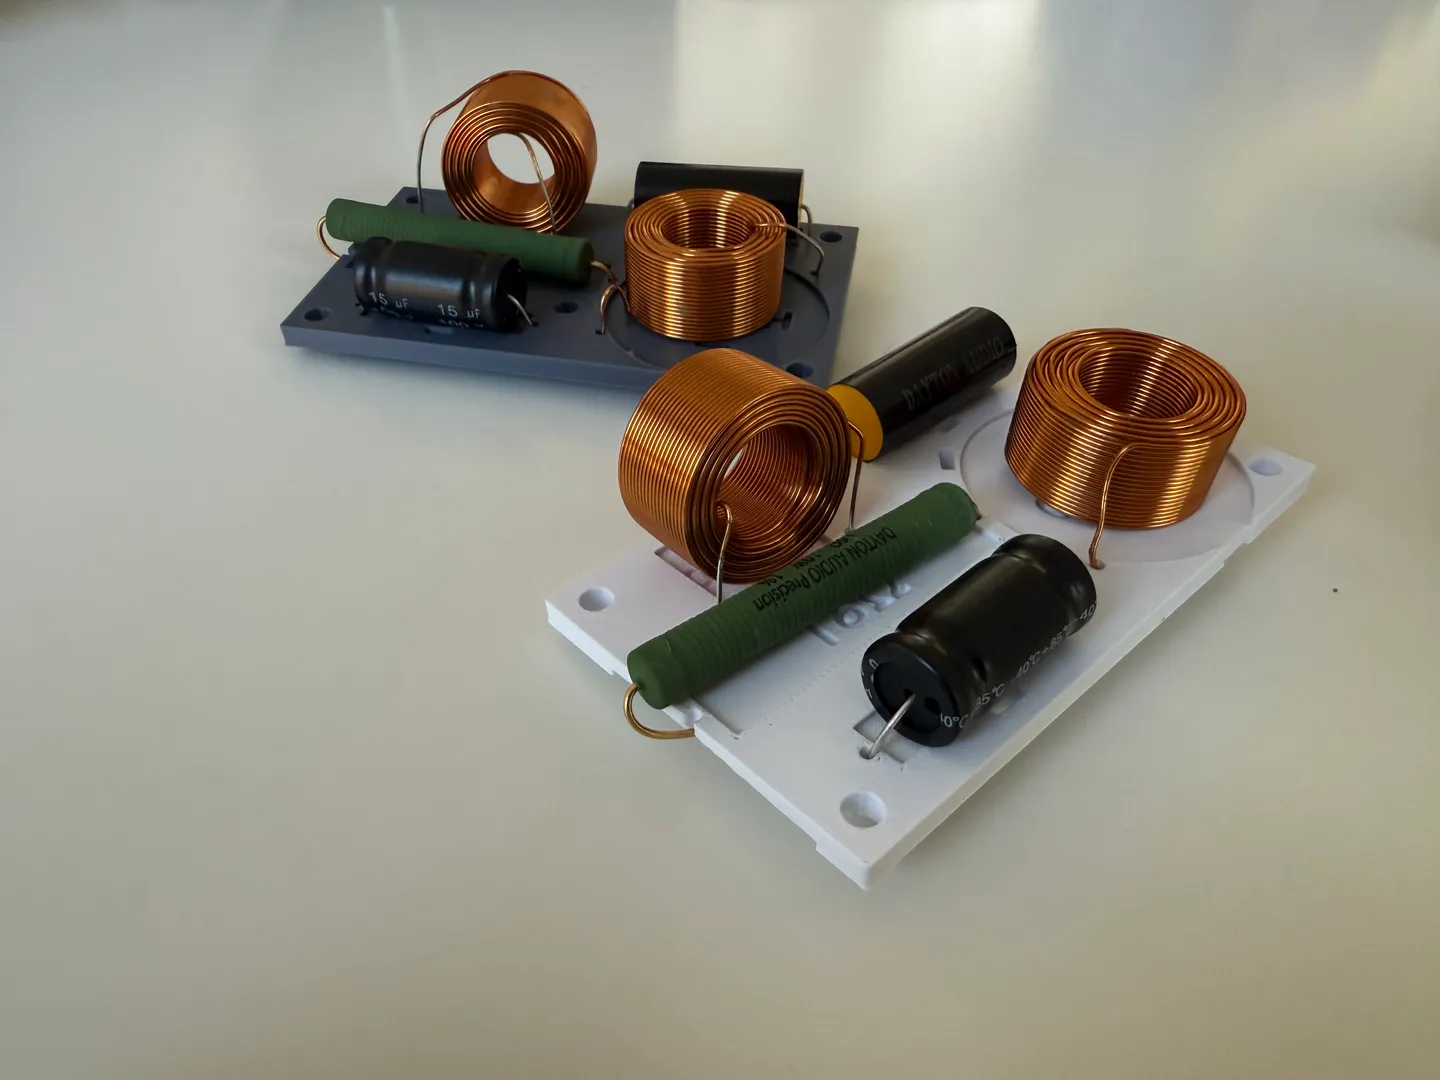
- Custom crossover network components:
- Capacitors (various values)
- Inductors
- Resistors
- Crossover PCB
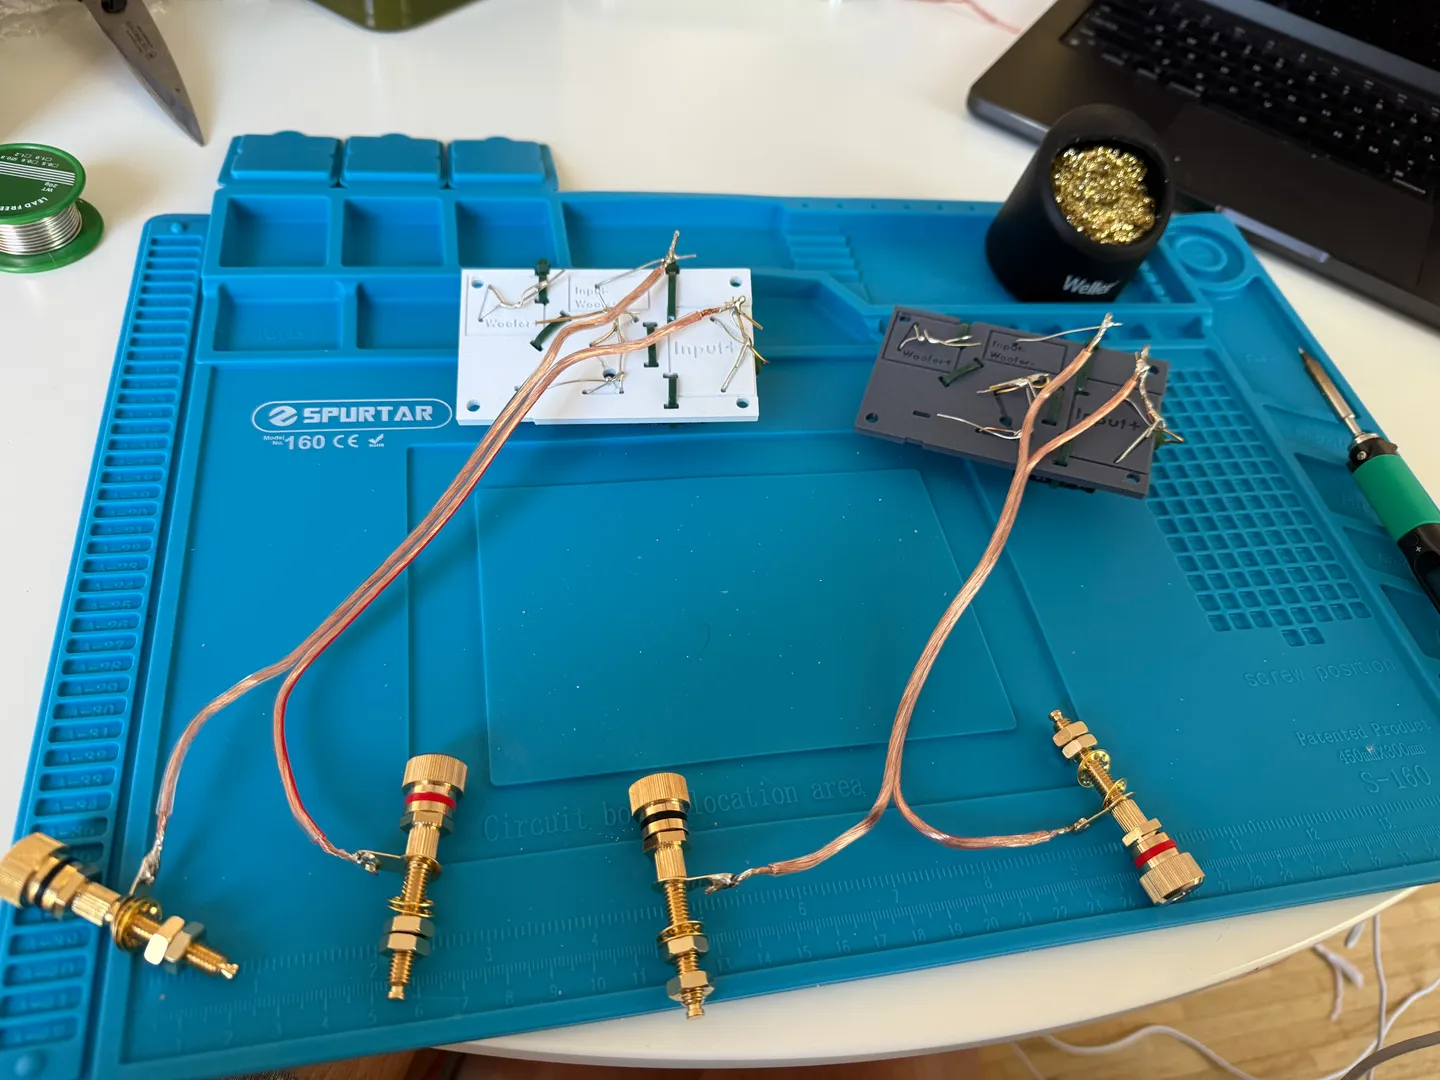
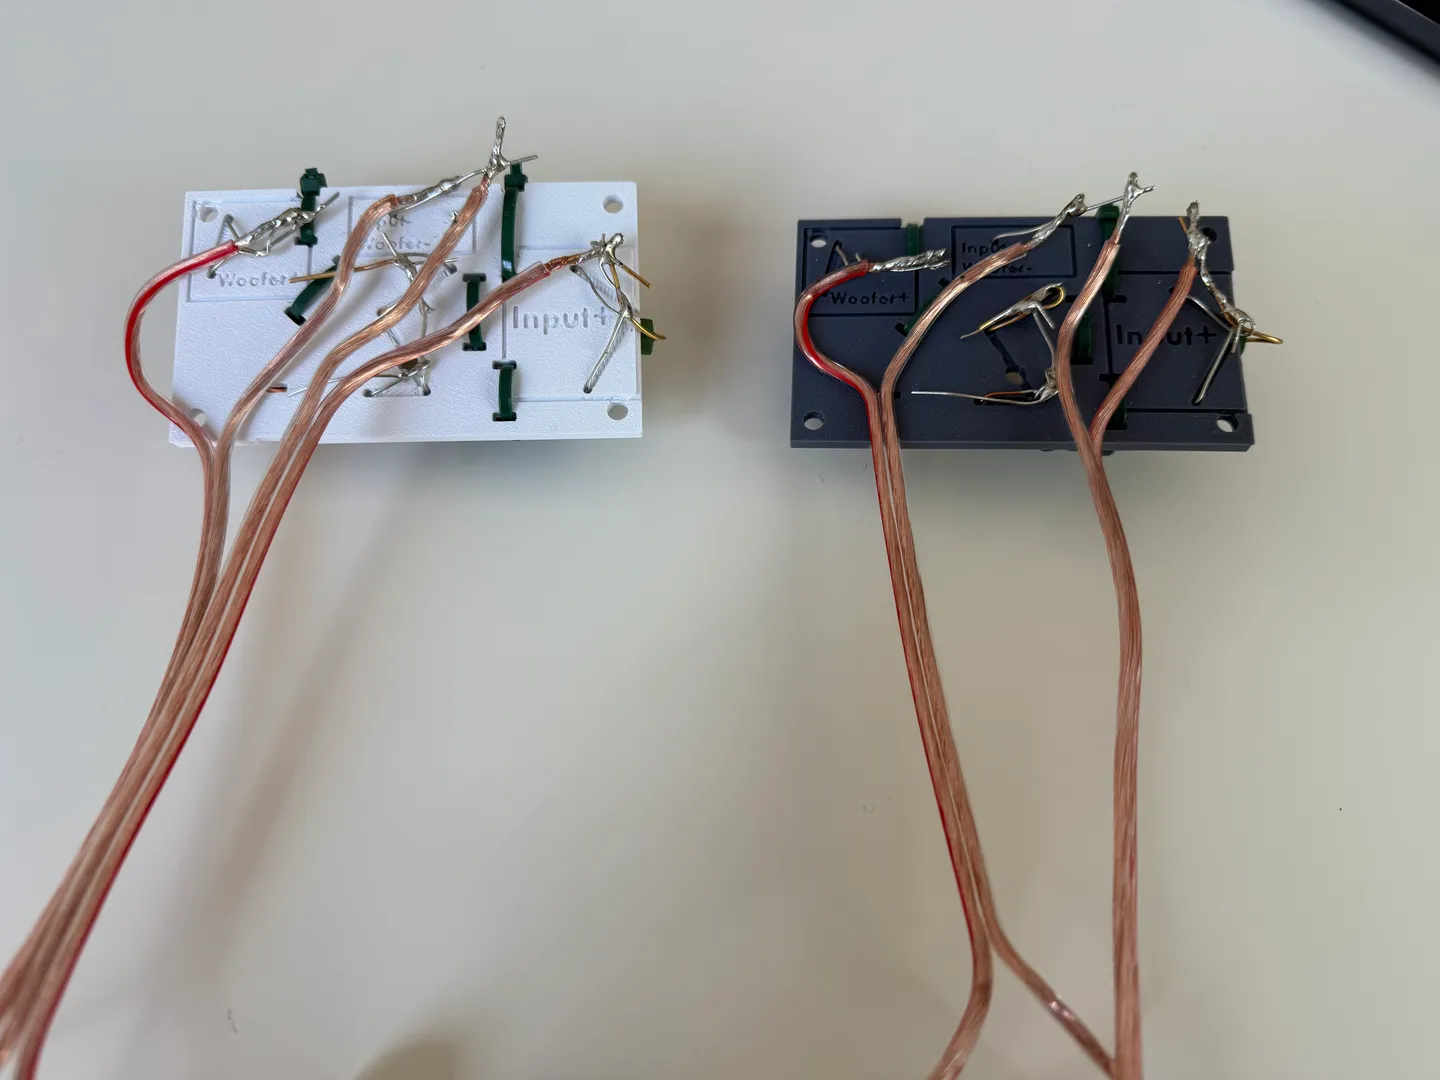
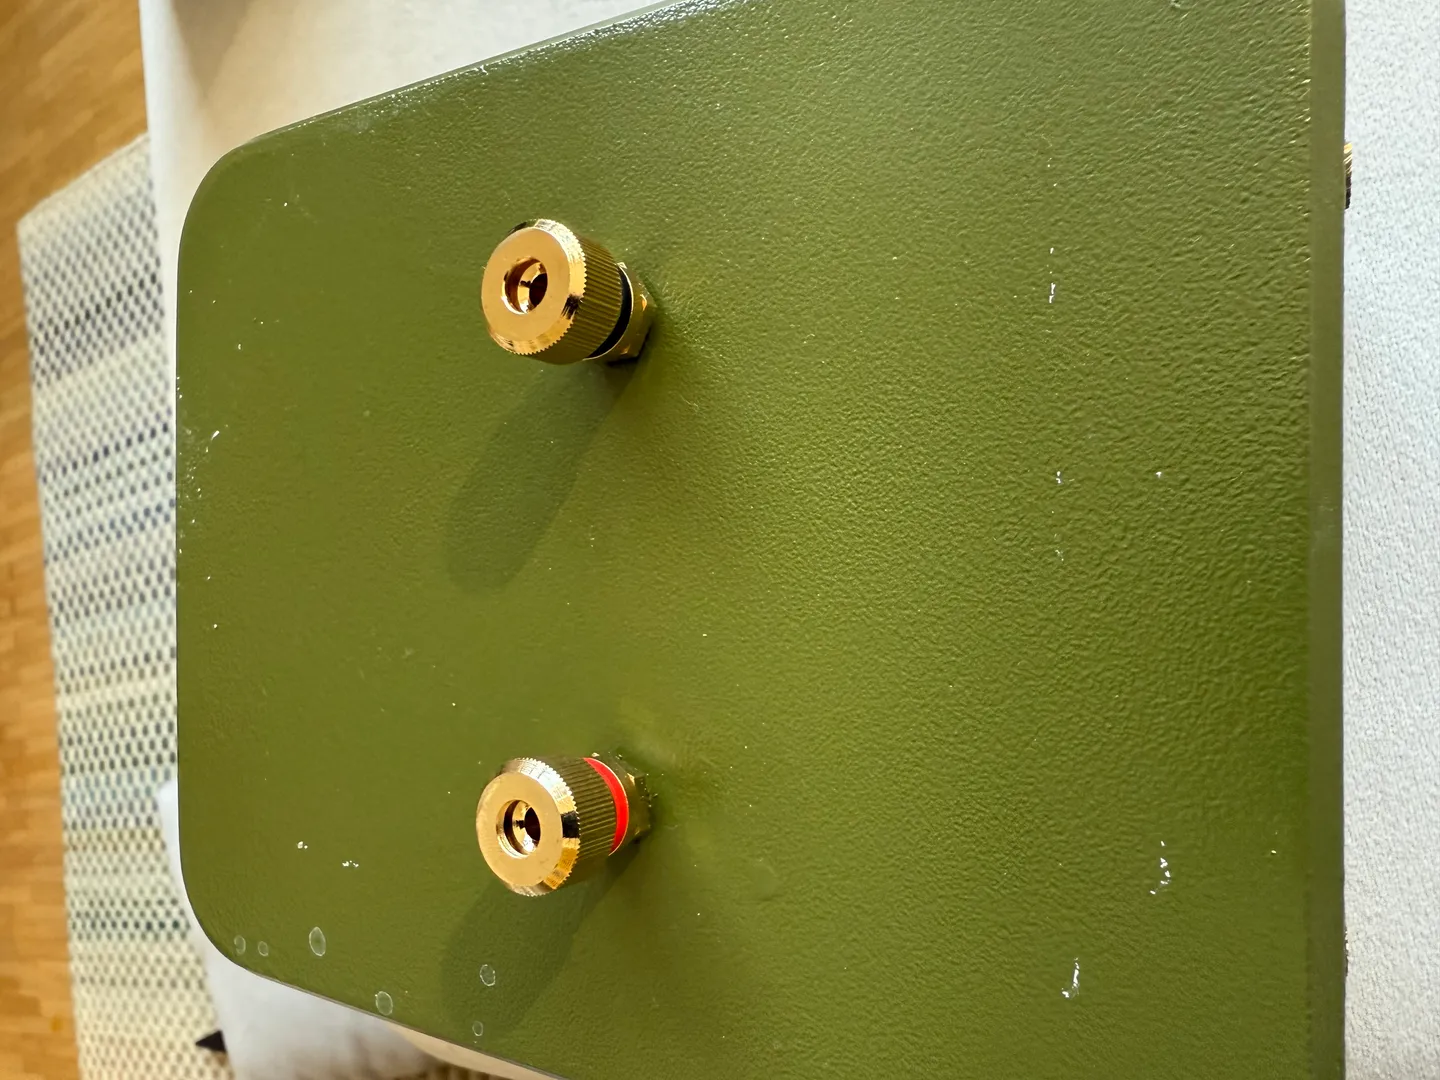
- Binding posts and internal wiring
- Acoustic dampening material
3D Printing Materials
- PLA+ filament for structural components
- Flexible TPU for the passive radiators
- Total filament used: approximately 1.2kg per speaker
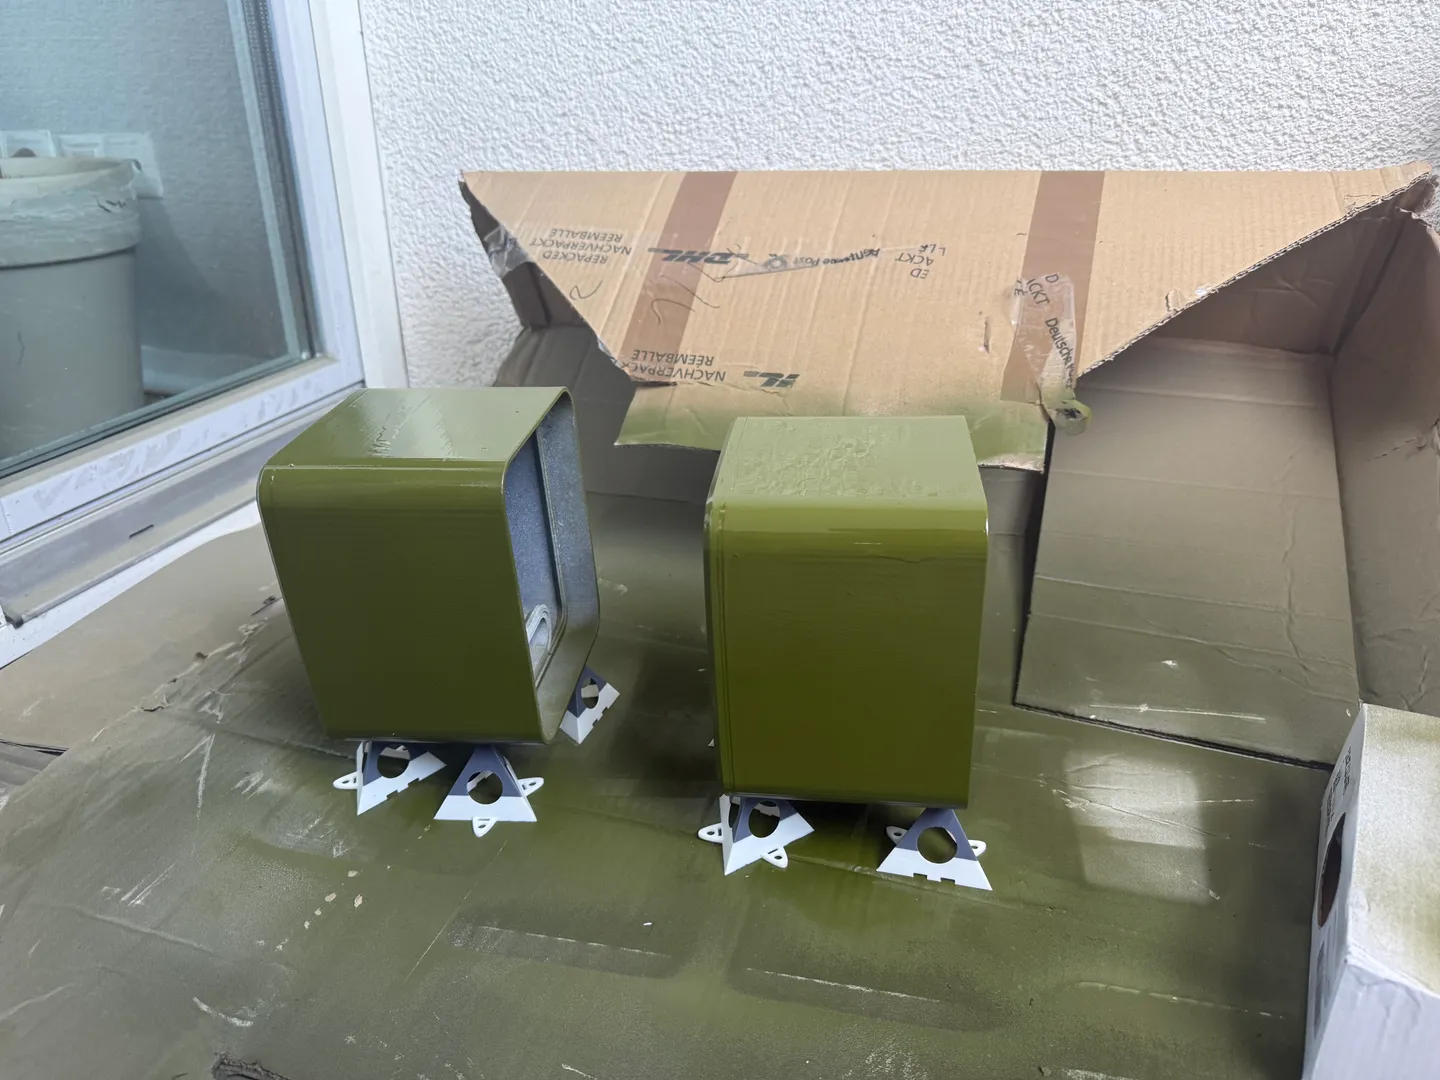
Painting and Finishing Materials
- Fine-grit sandpaper (220, 400, 600, 1000 grit)
- Filler primer
- Automotive spray paint
- Clear coat sealer
- Masking tape and paper
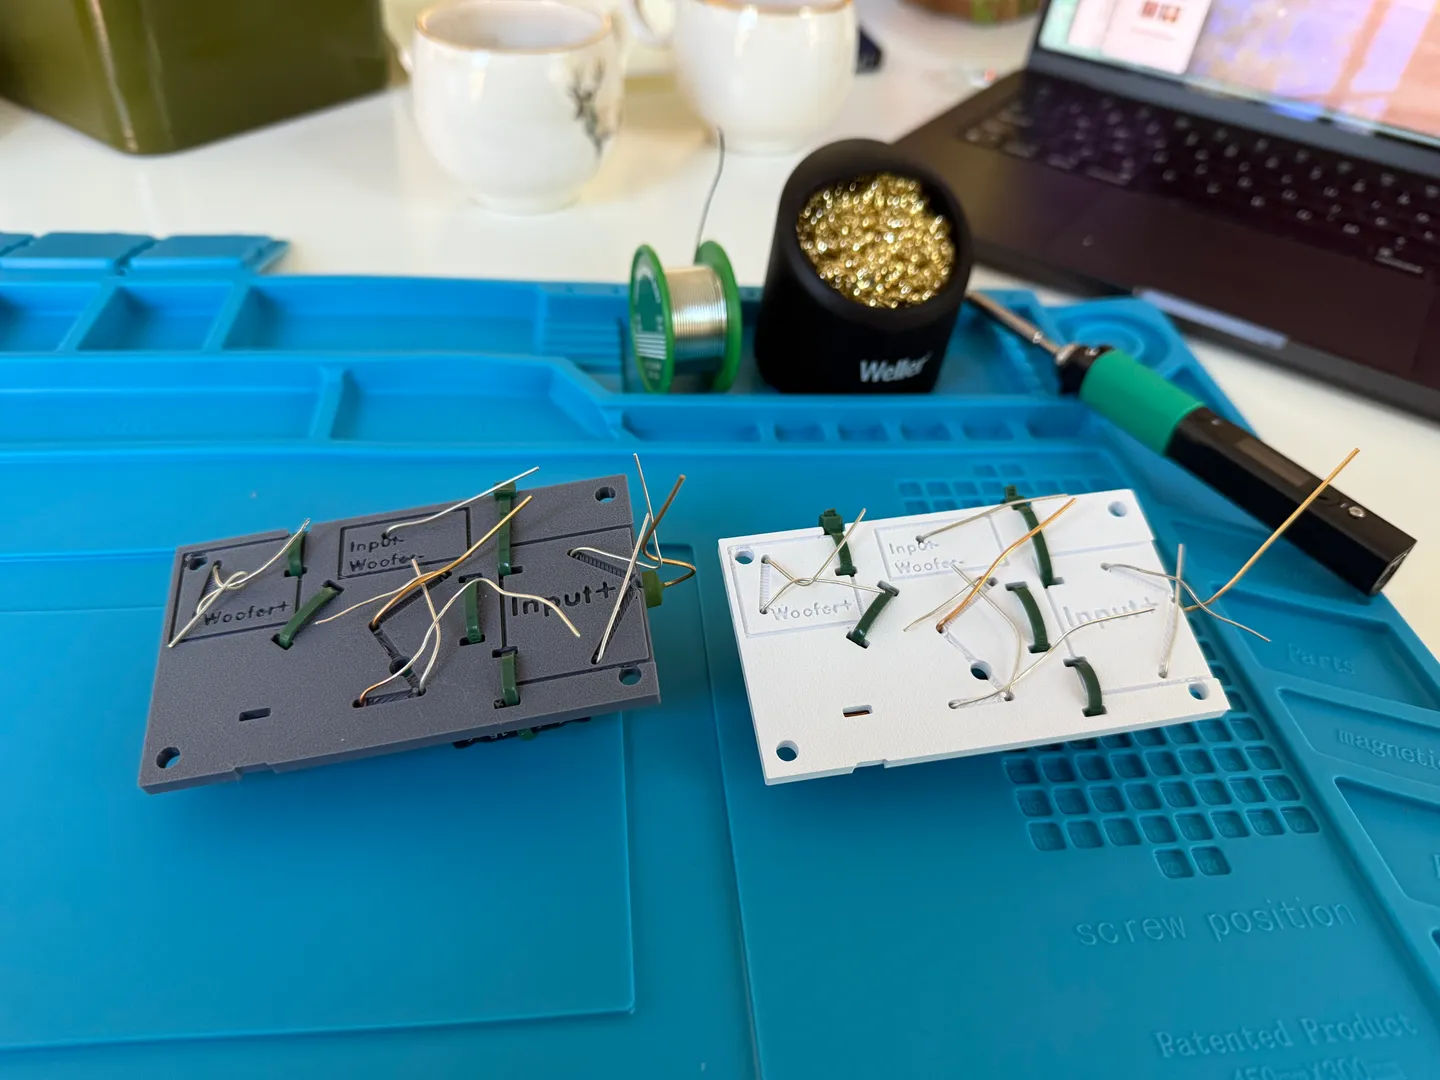
Tools
- Soldering iron and solder
- Wire strippers and cutters
- Heat shrink tubing
- Multimeter for testing connections
- Various screwdrivers and hex keys
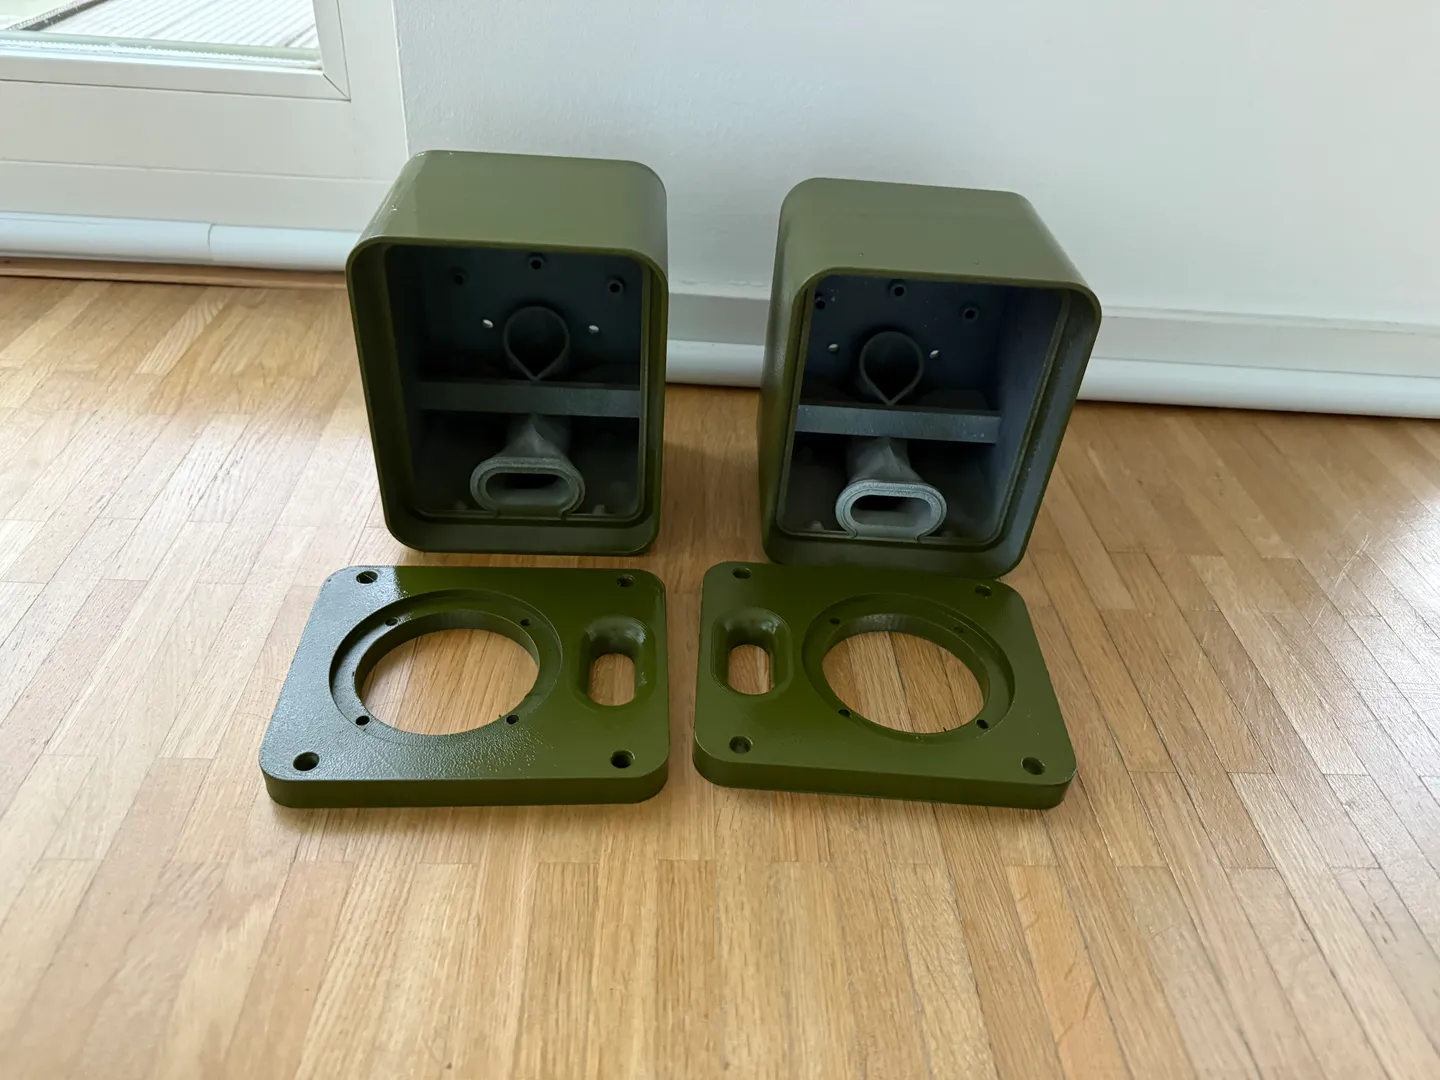
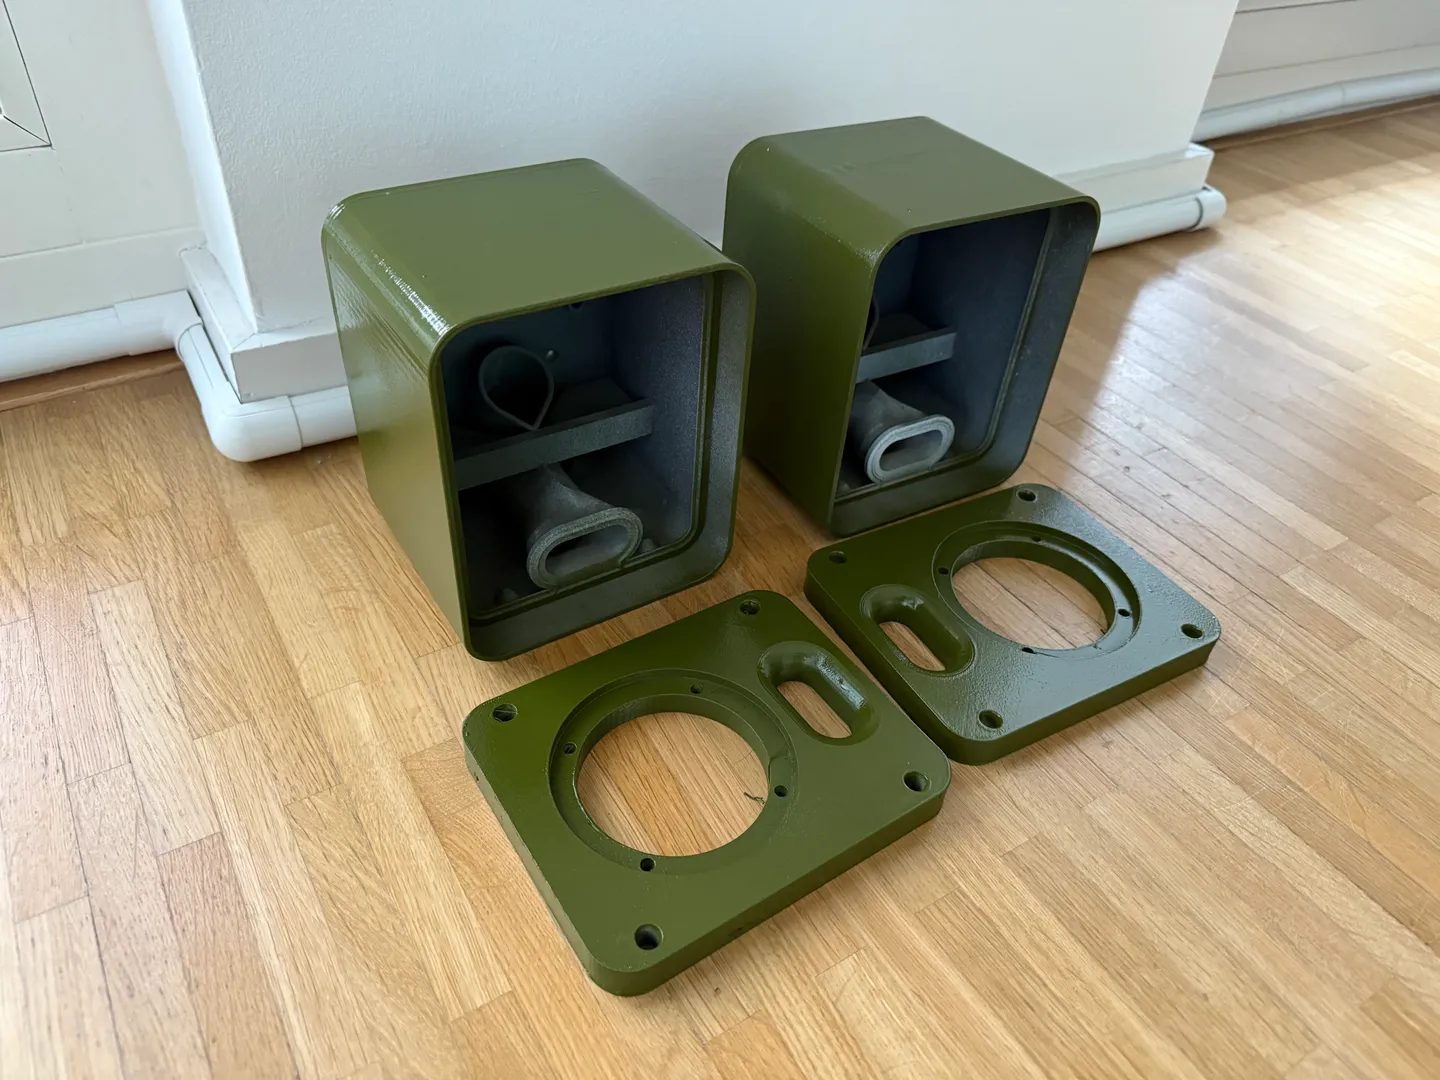
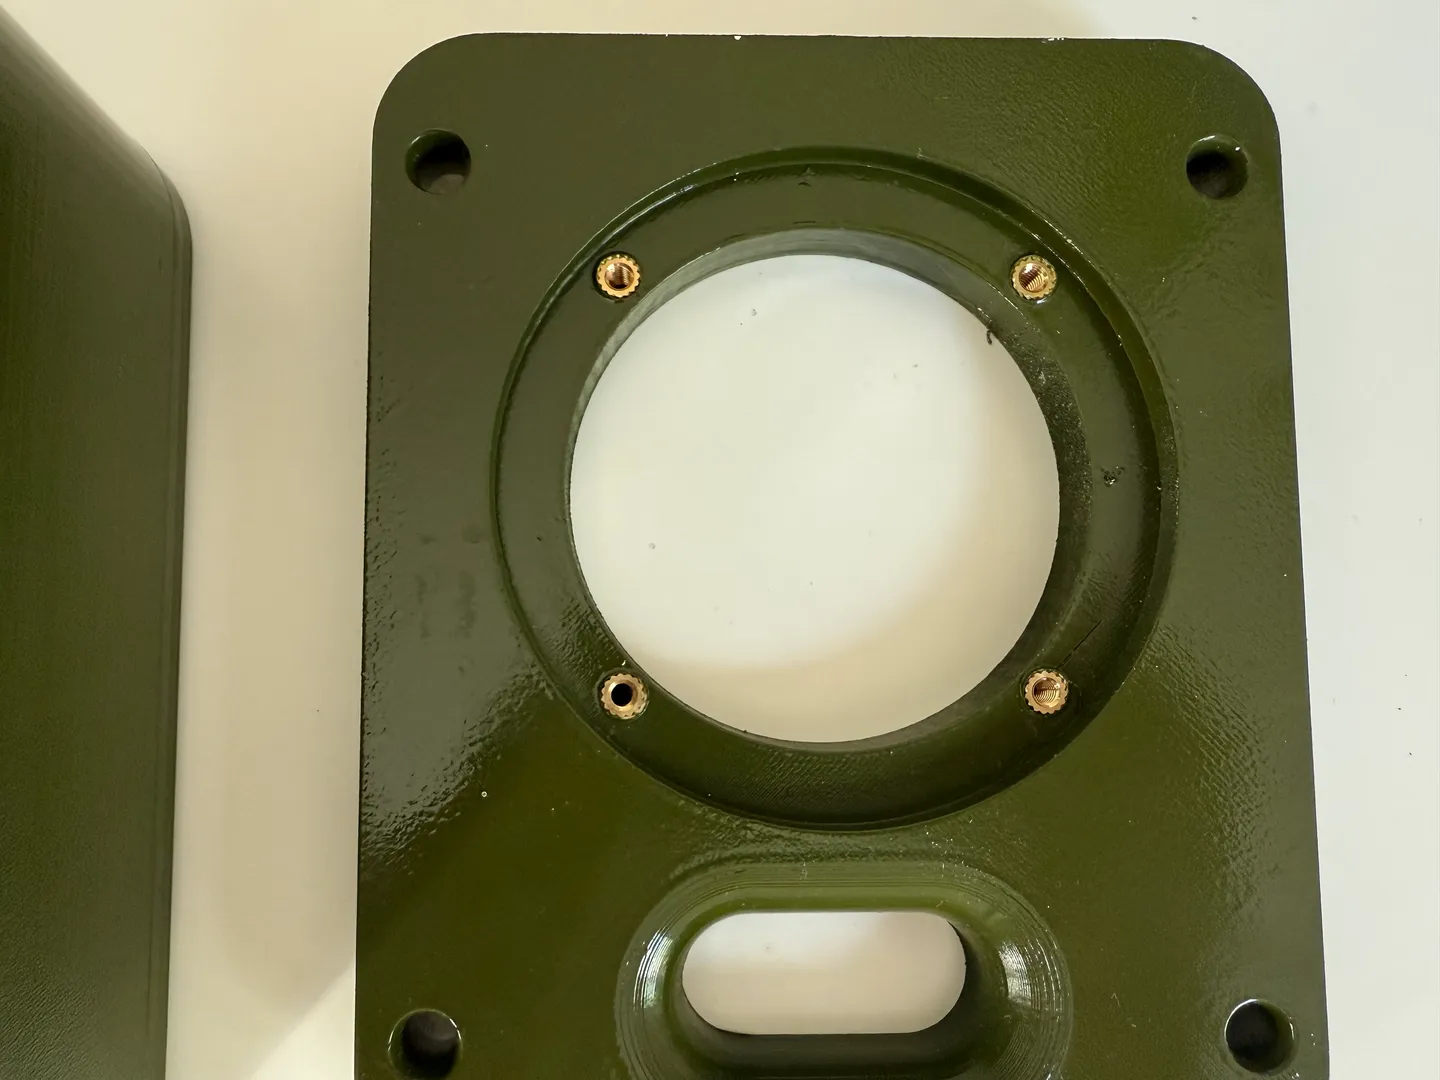
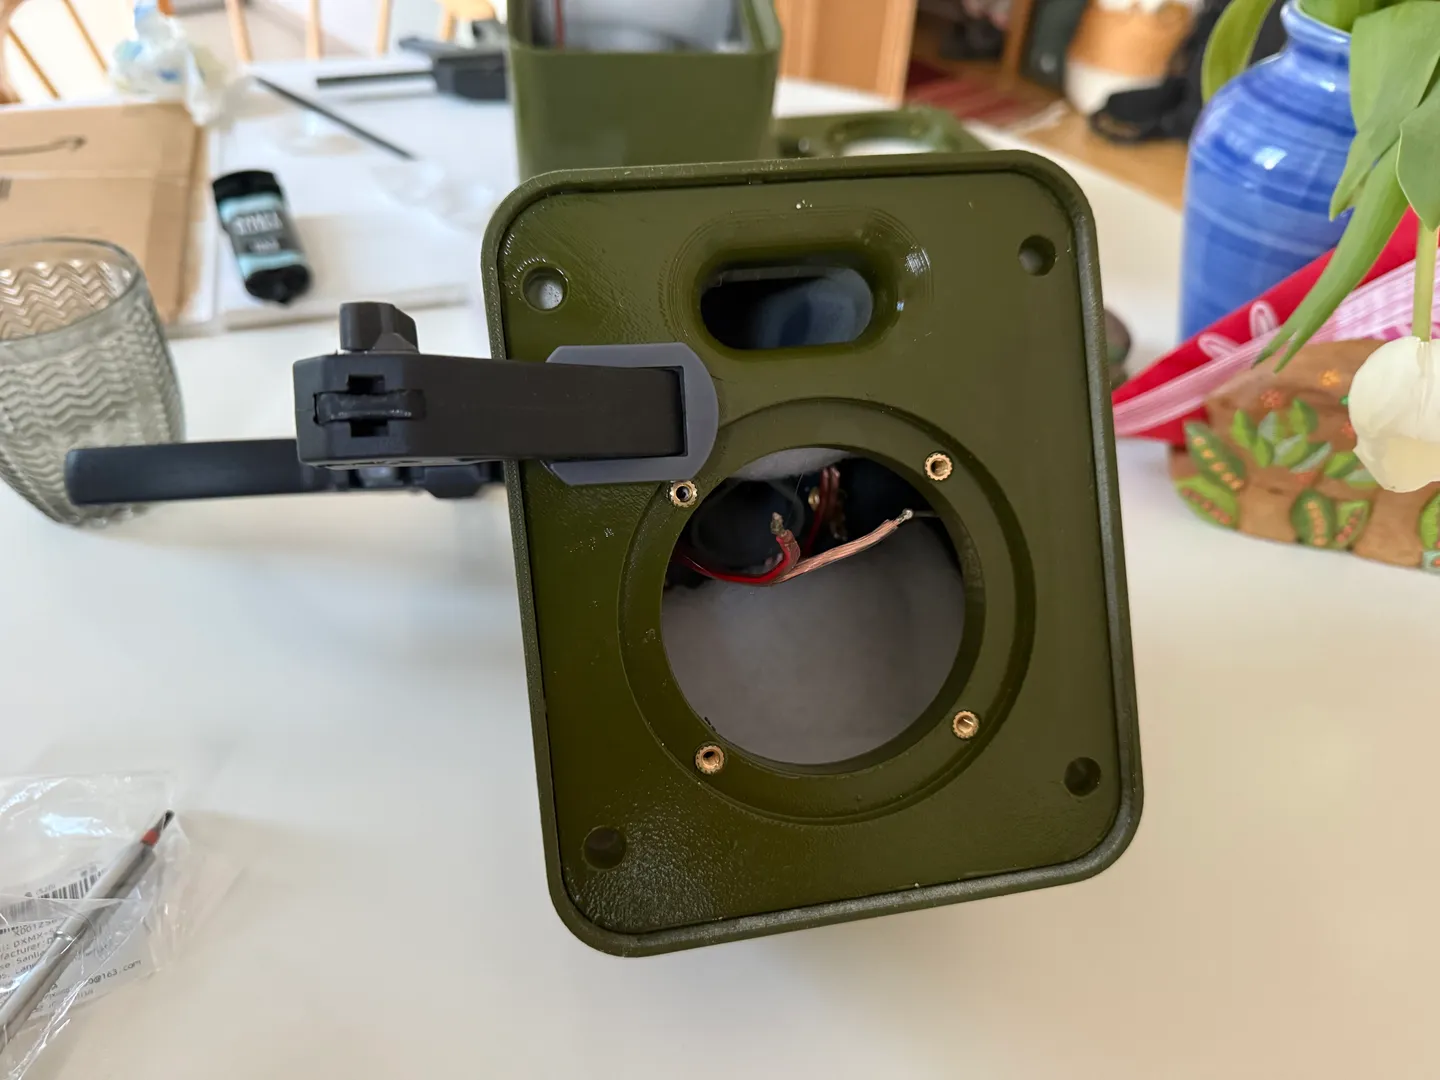
Printing Process
The printing process was extensive, requiring multiple parts for each speaker:
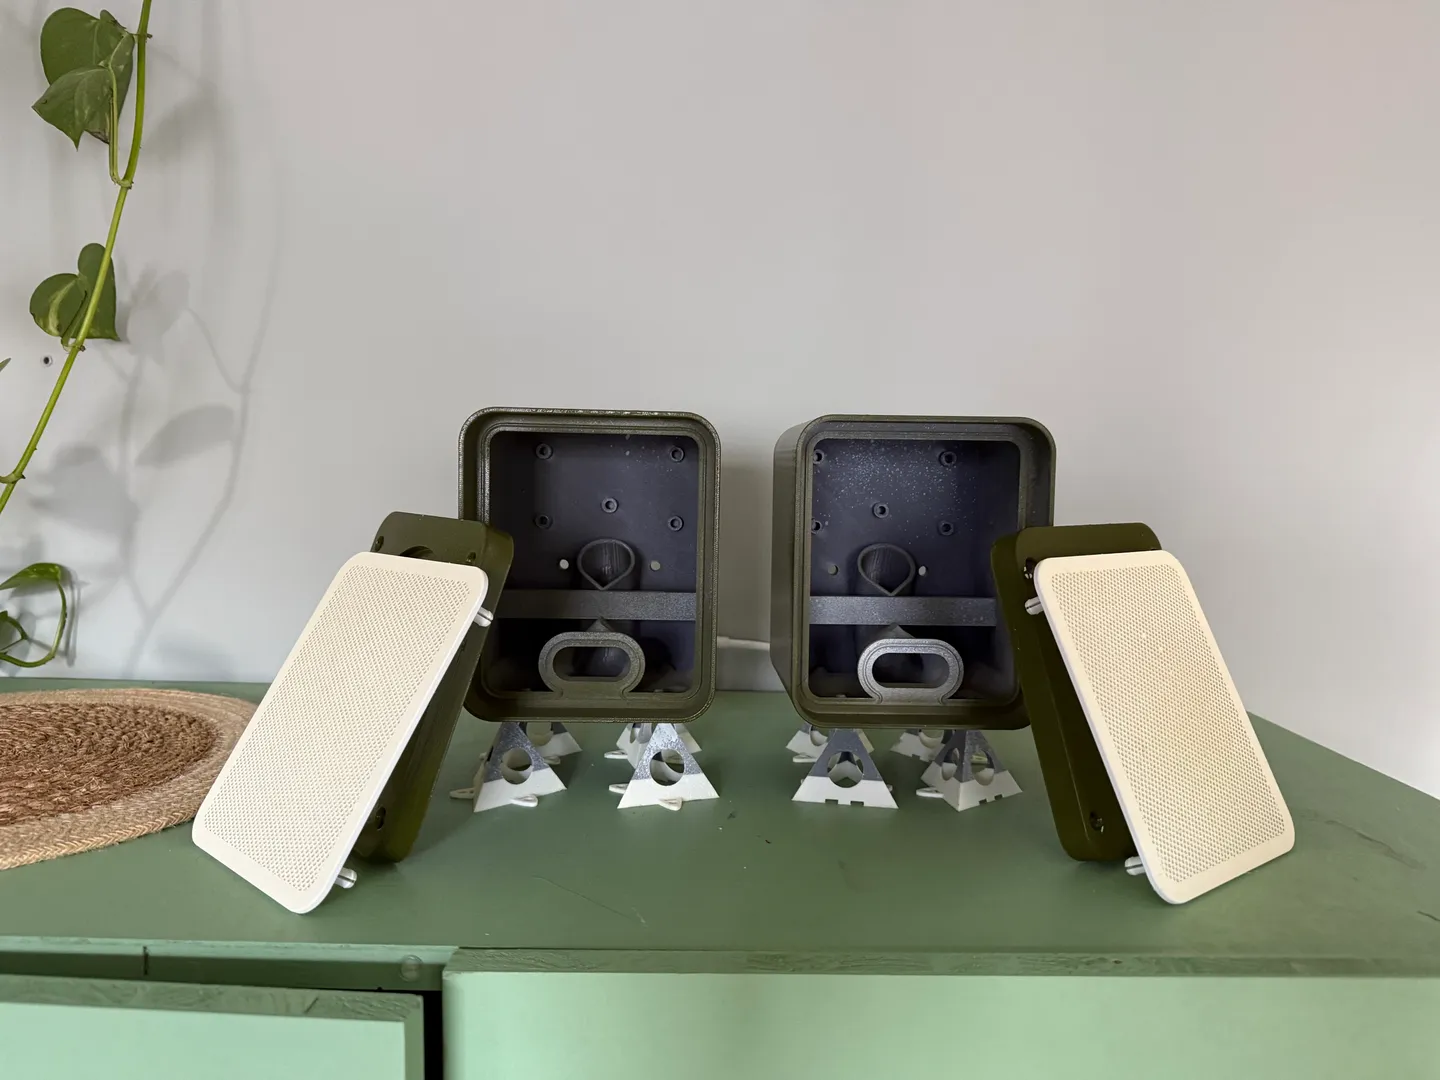
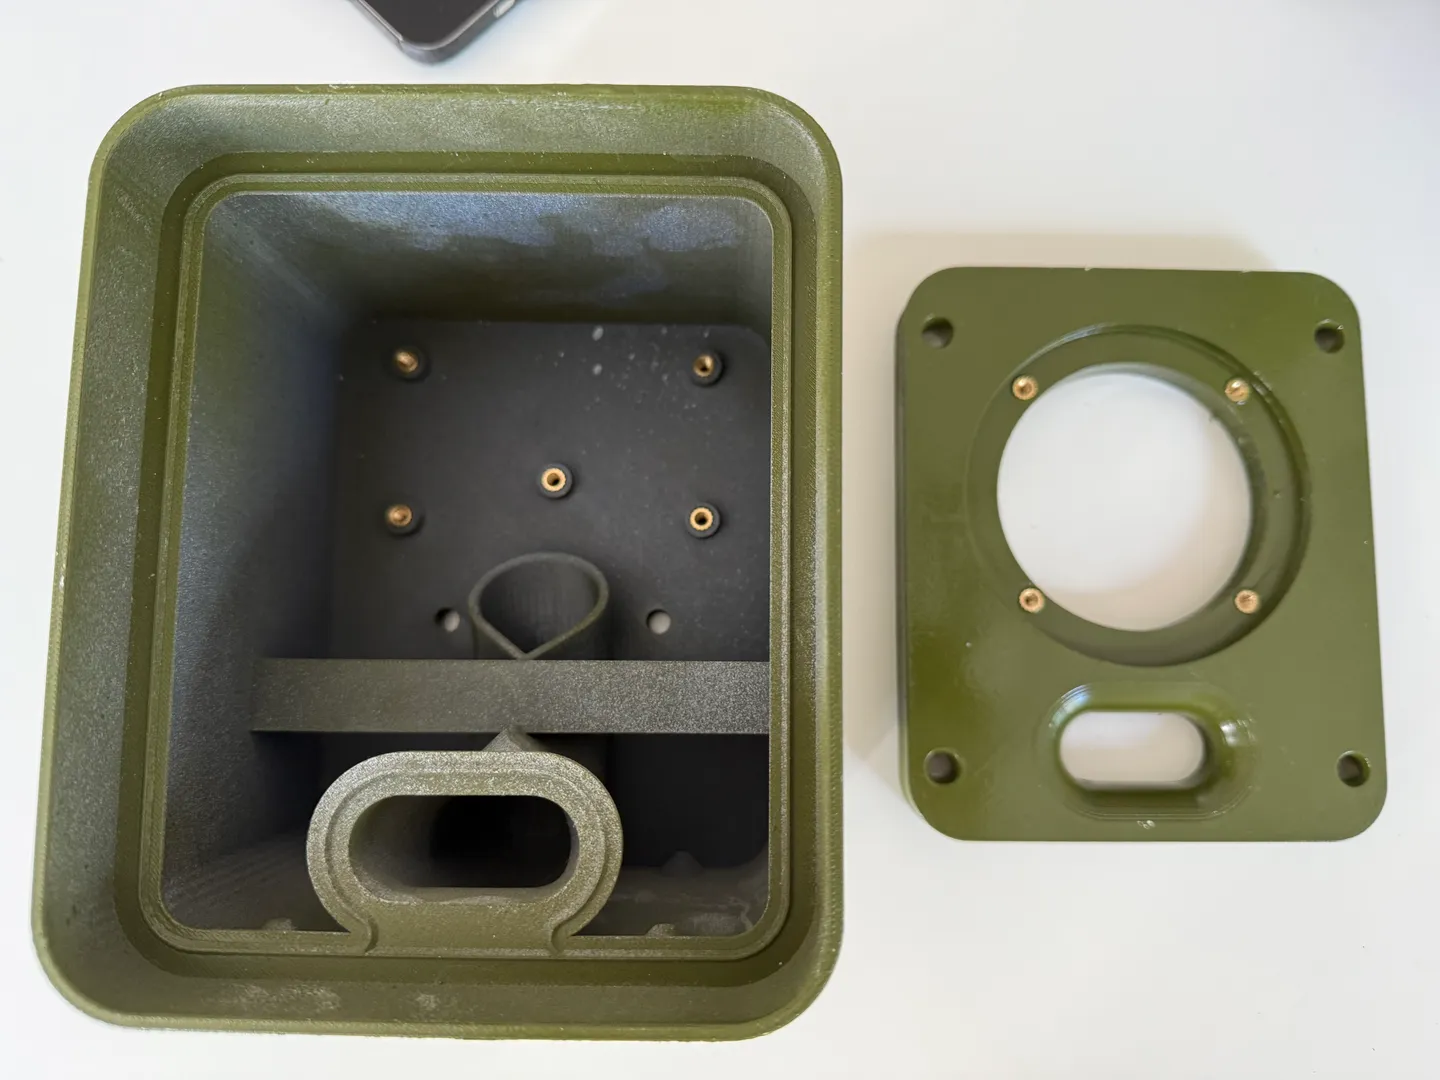
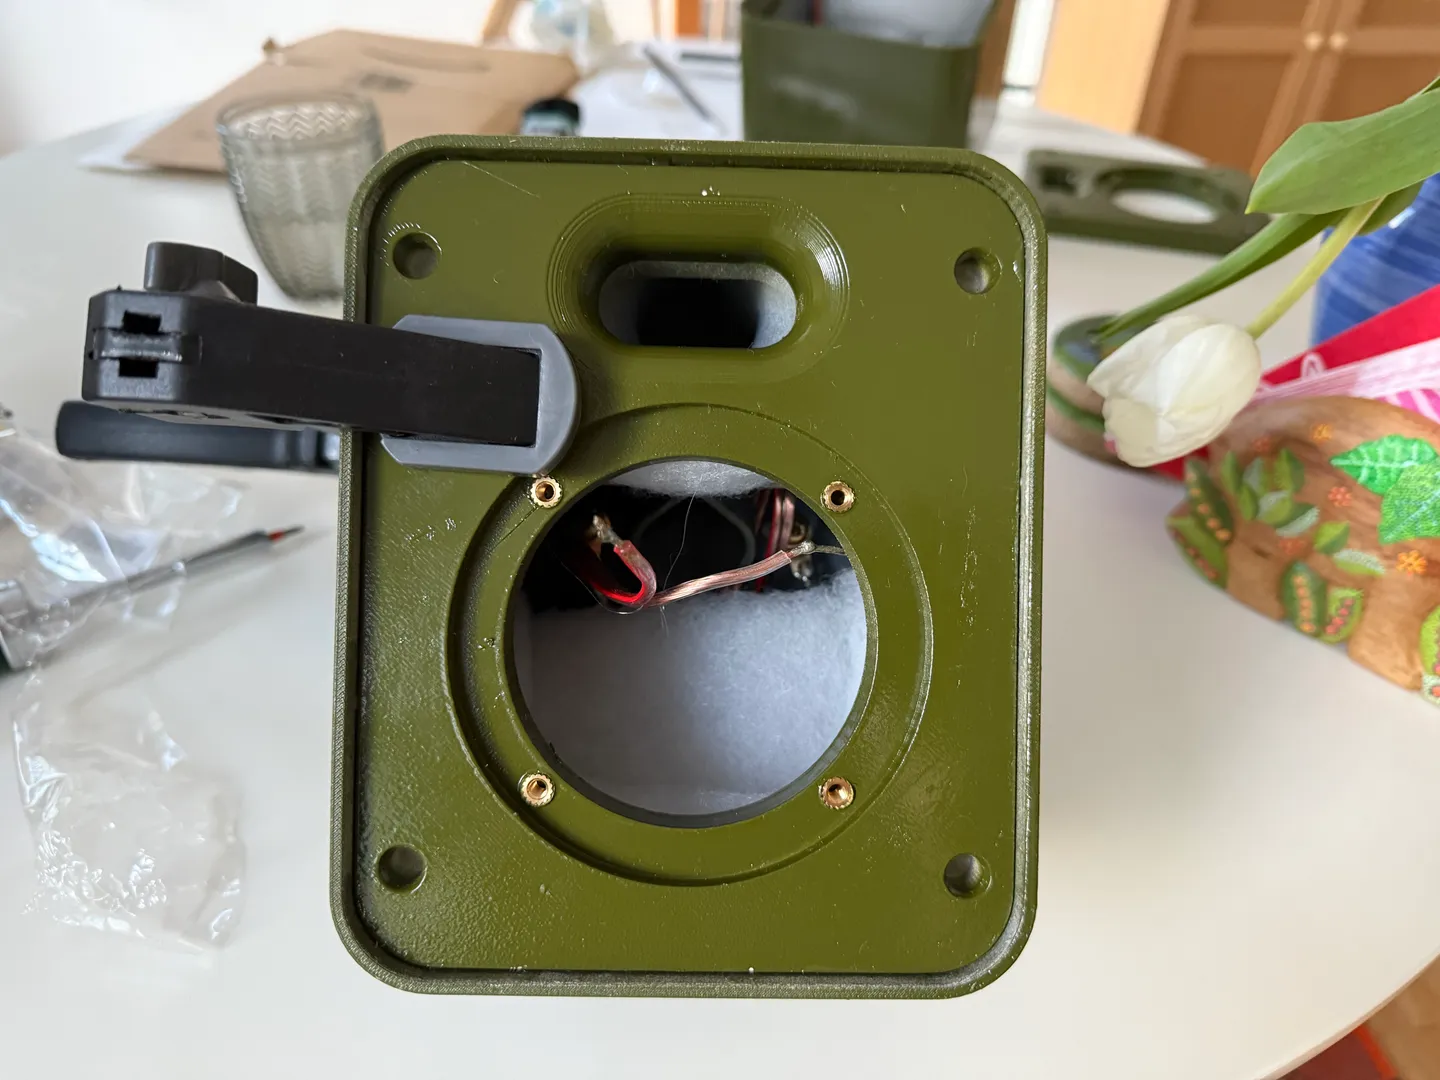
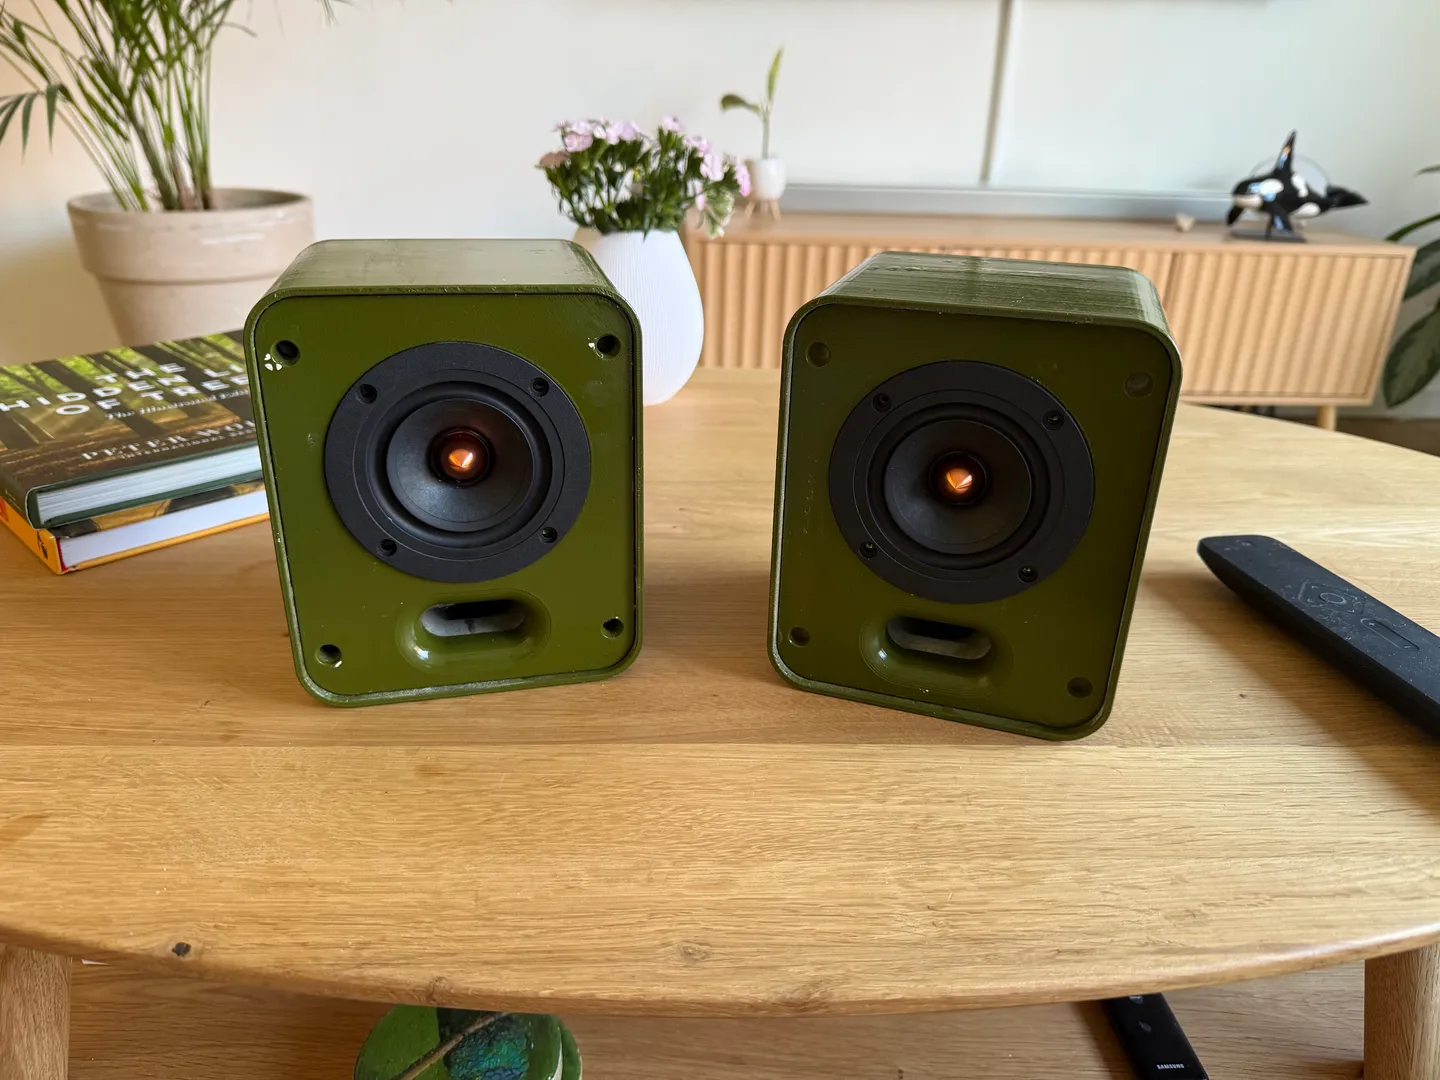
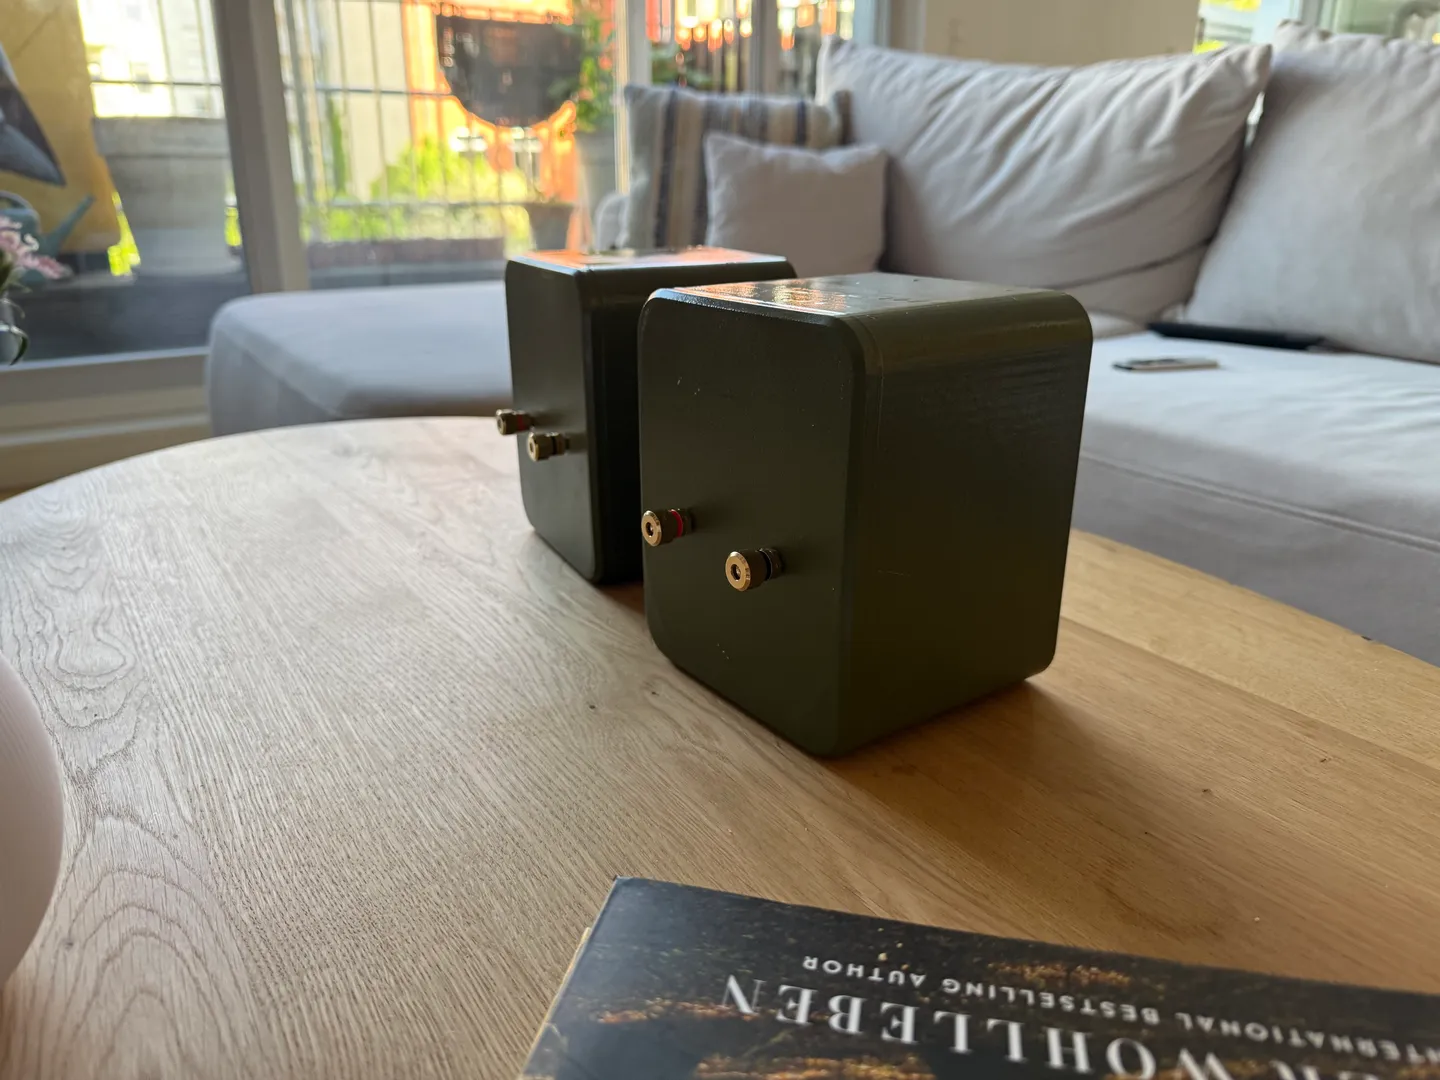
The Final Result
After approximately 120 hours of printing, 8 hours of painting, 1 hours of soldering, and 3 hours of assembly, the speakers were complete and ready for testing.
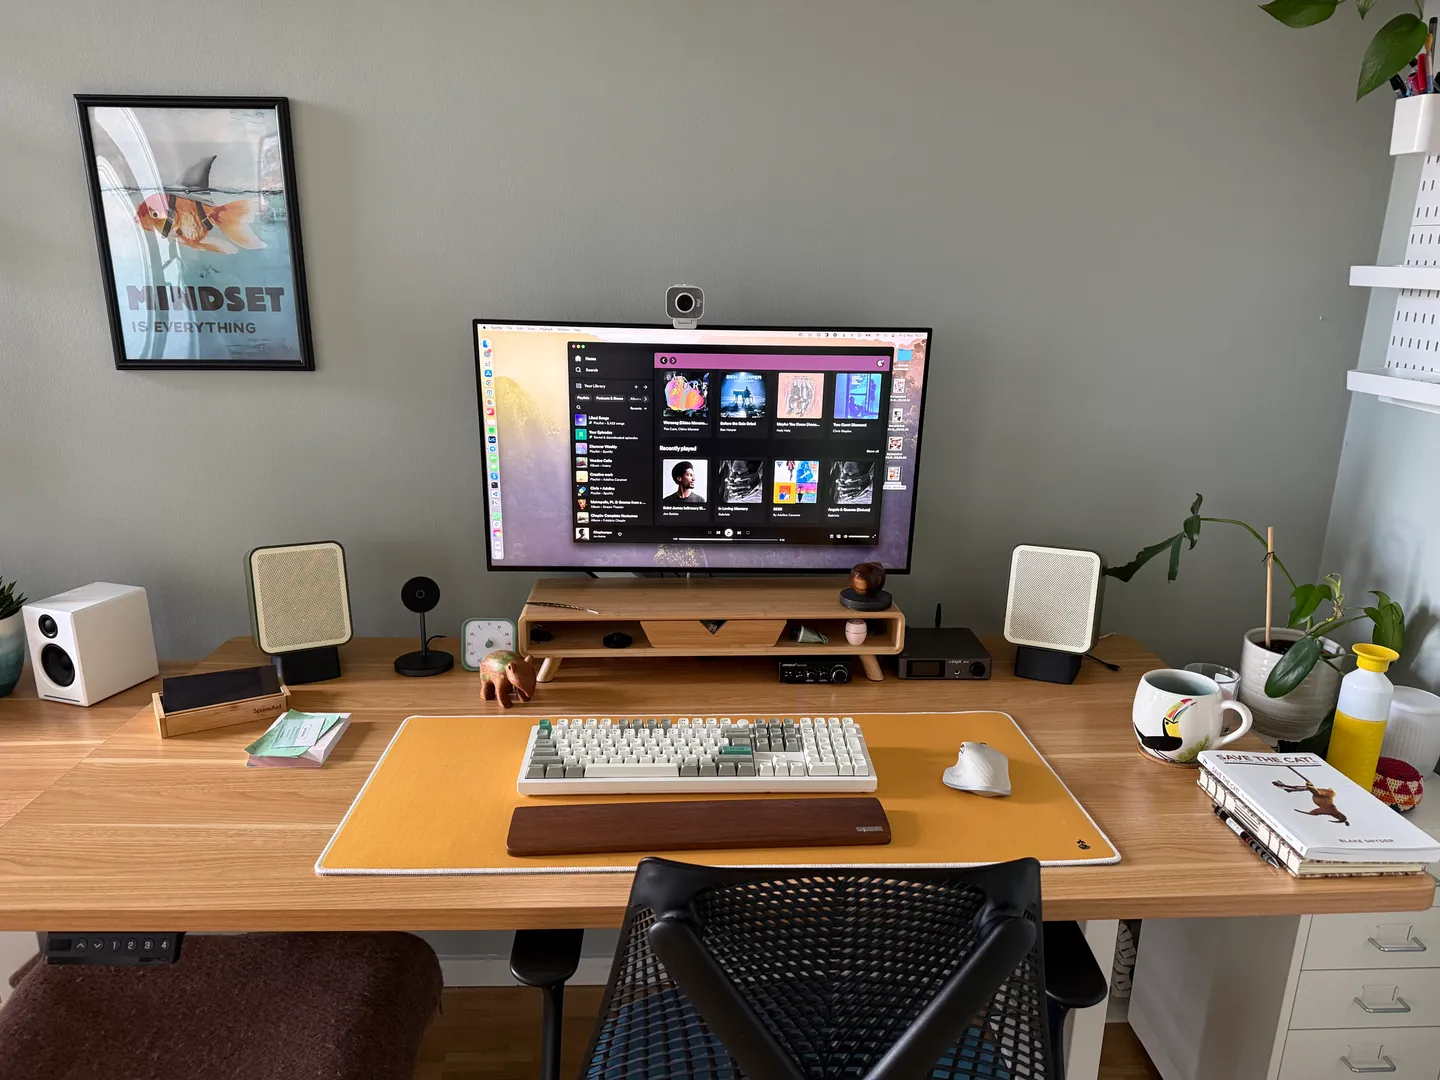
The completed speakers integrated into my desktop setup
Sound Quality
I was genuinely surprised by the audio quality from these 3D printed speakers. They offer:
- Clear, detailed highs
- Well-balanced midrange
- Surprisingly deep bass for their size
- Excellent stereo imaging
- Room-filling sound despite their compact size
The tuned port and passive radiator design allows these small speakers to produce a soundstage that belies their dimensions. Music ranging from classical to electronic all sounds balanced and engaging.
Final Thoughts
This project showcases what’s possible at the intersection of 3D printing and audio. For around $120 in components plus filament costs, I’ve created speakers that sound comparable to commercial options costing $300+.
If you’re interested in building your own speakers, I highly recommend checking out Print Your Speakers for plans and detailed guides. Their design work makes this project accessible even to those without extensive audio engineering knowledge.
What started as an experiment has become my daily audio system, proving that 3D printing can deliver not just visually appealing prototypes but functional, high-performance finished products.